How To Make Your Own StormTracks with ATsWeatherToGo
I’ll be updating the weather app video tutorial soon because there have been a few minor changes. One of those is the way you delete or edit a location (tapping the grey arrow next to the location name). The biggest request I get is how to enable storm tracks, so we’ll focus on that here.
The storm track feature is really cool and allows you see what’s inside the storm as well as track it with time of arrival into each city. Follow the screenshots below on how to access this information. It will prove very helpful when you need quick info on the fly.
First off, if you don’t have it, download ATsWeatherToGo from Apple or Google Play and install it.
Open up the app and tap on the map tile or swipe from left to right to access the menu.
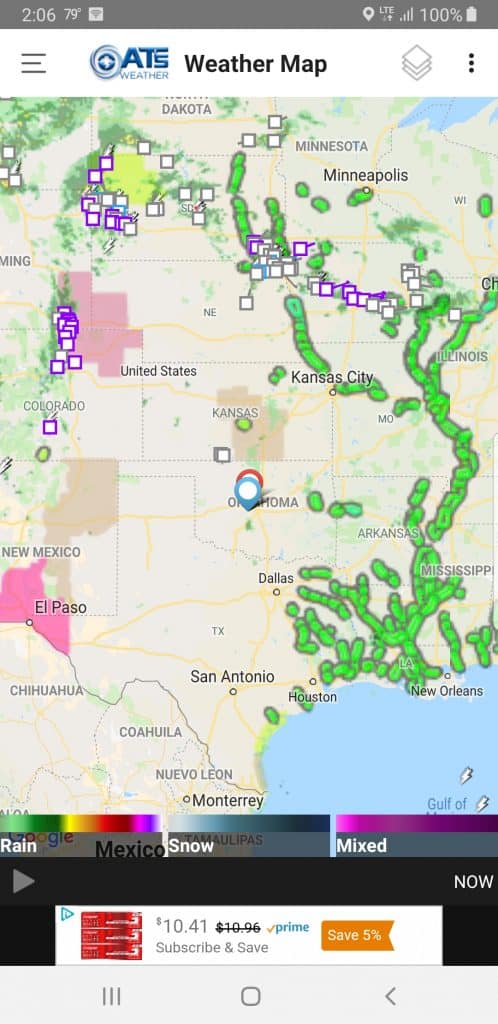
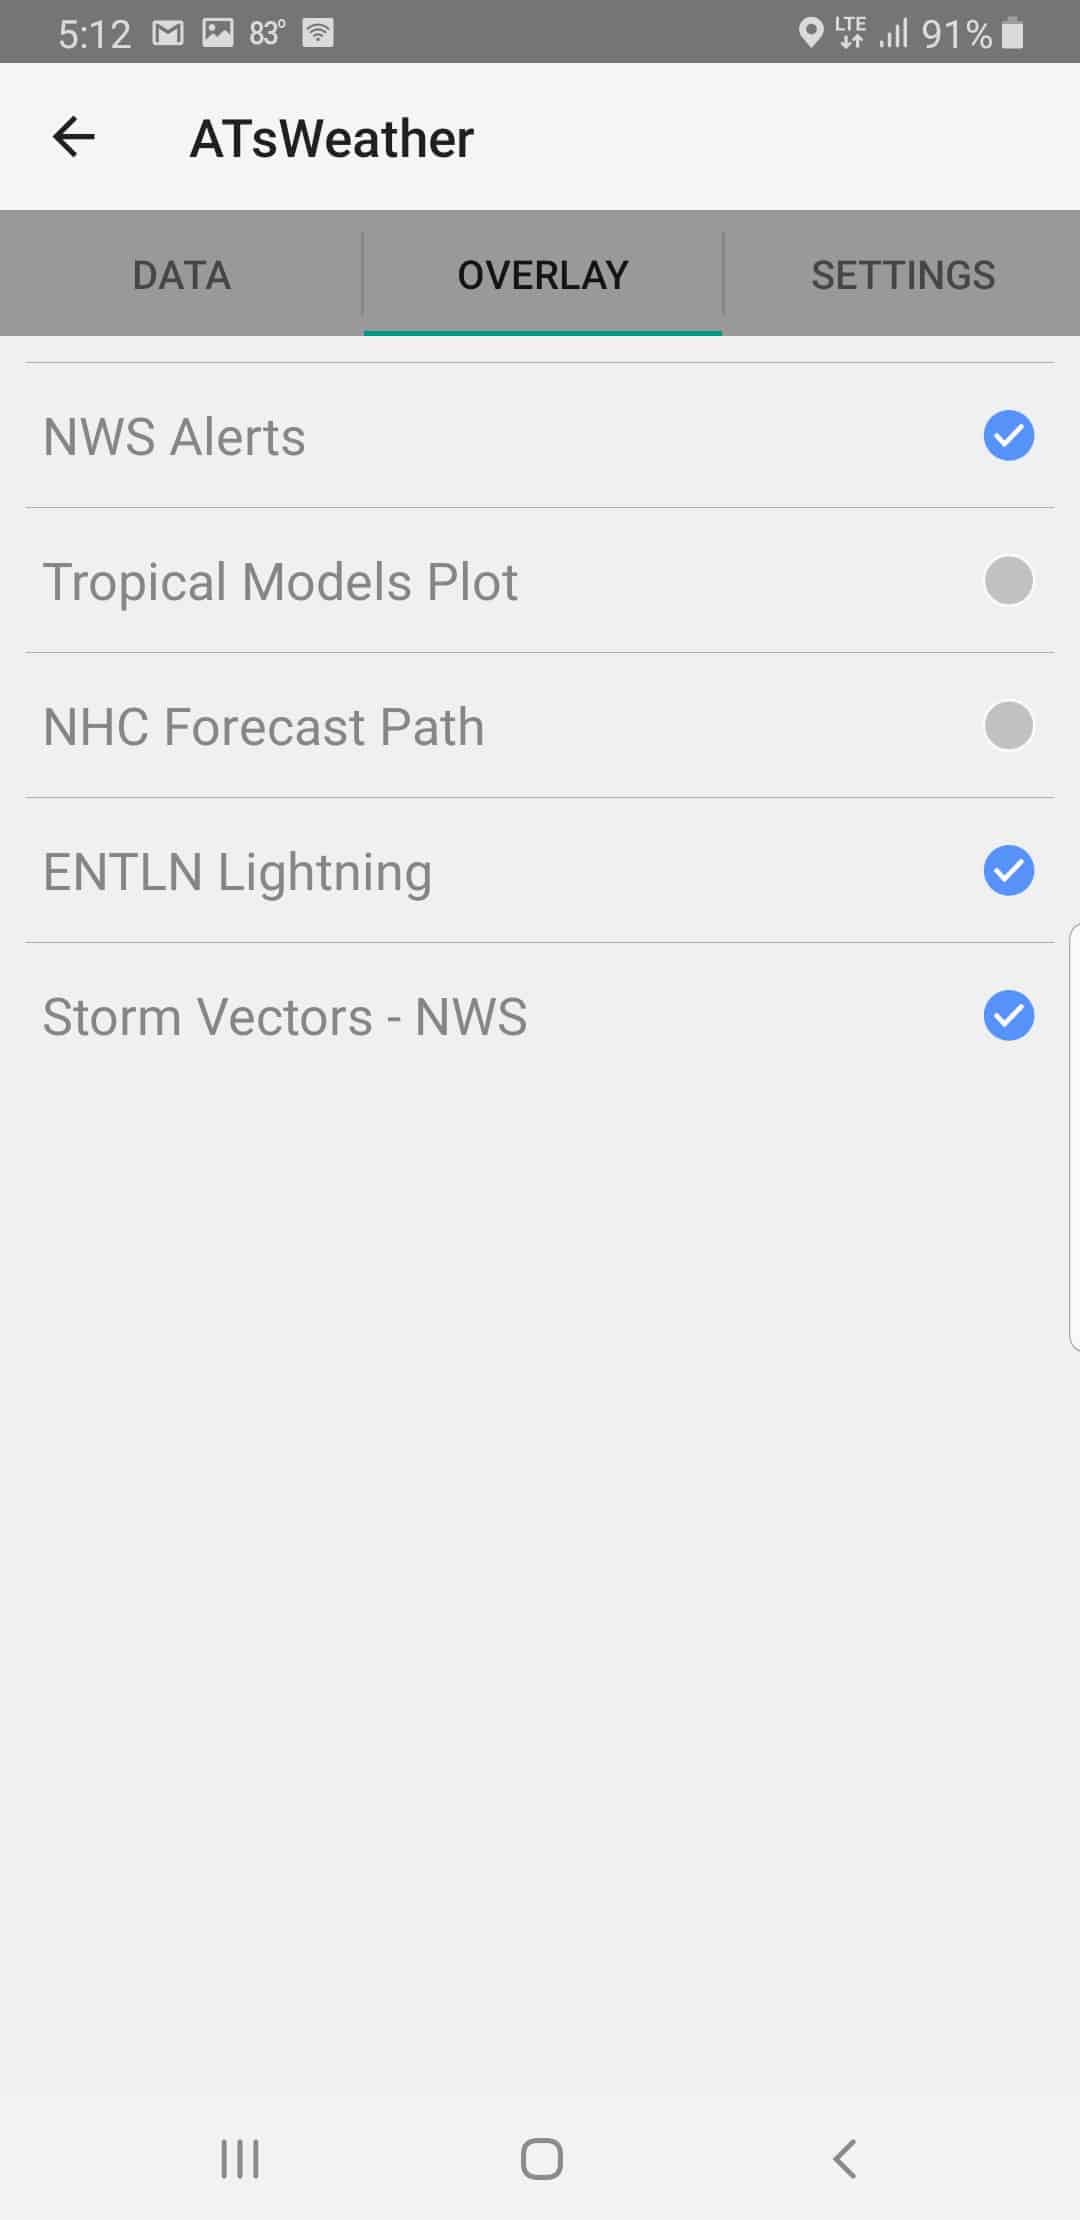
Once there tap the paper stack icon which will take you into the product overlays of the map. From there, select the middle tab and pick Storm Vectors – NWS.

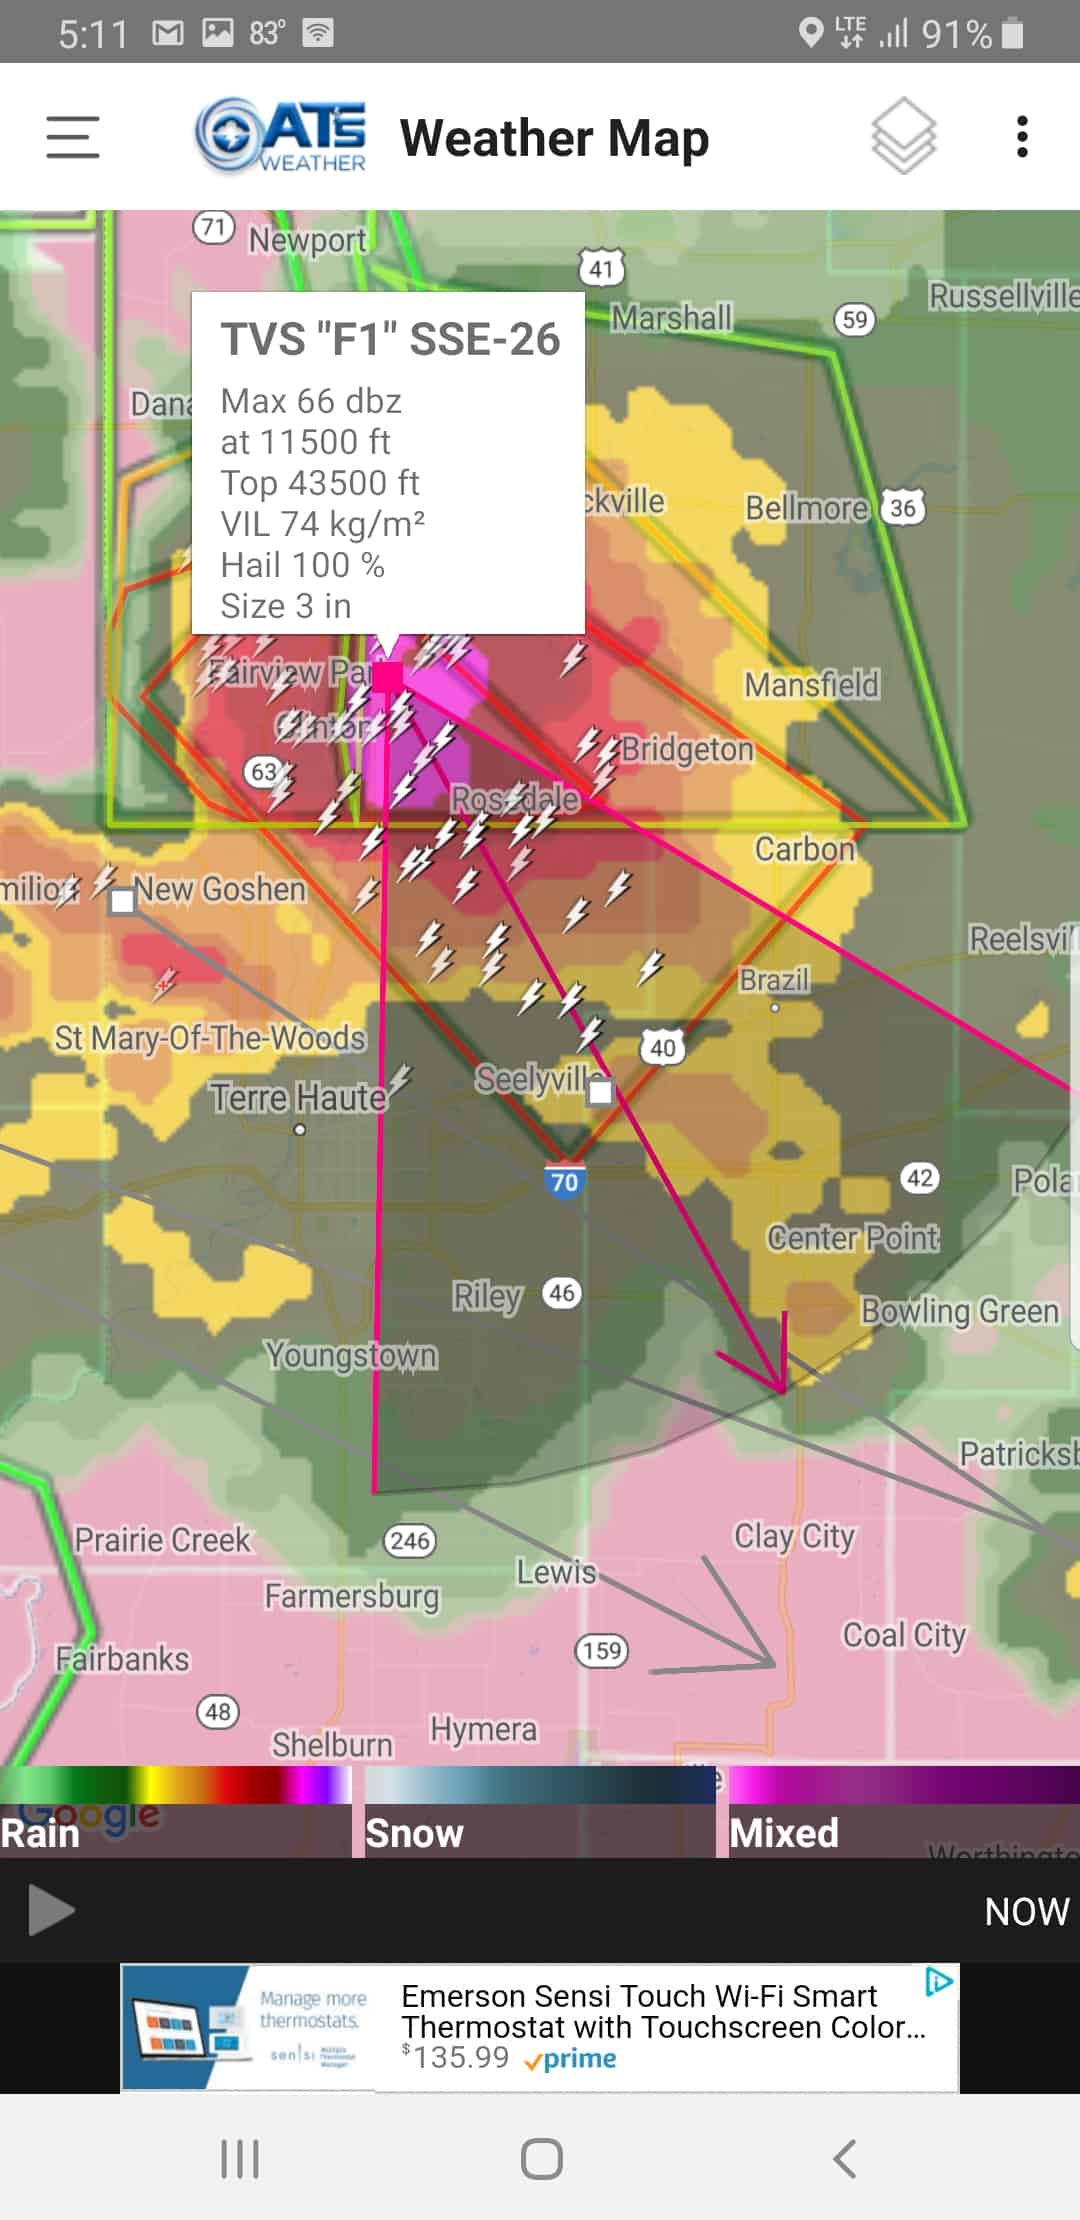
Go back to the map and zoom into any storm with an arrow and tap the little white box at the end of each arrow. That pops up a big white box with info. If you tap that box, another window opens with the cities and time of arrival.
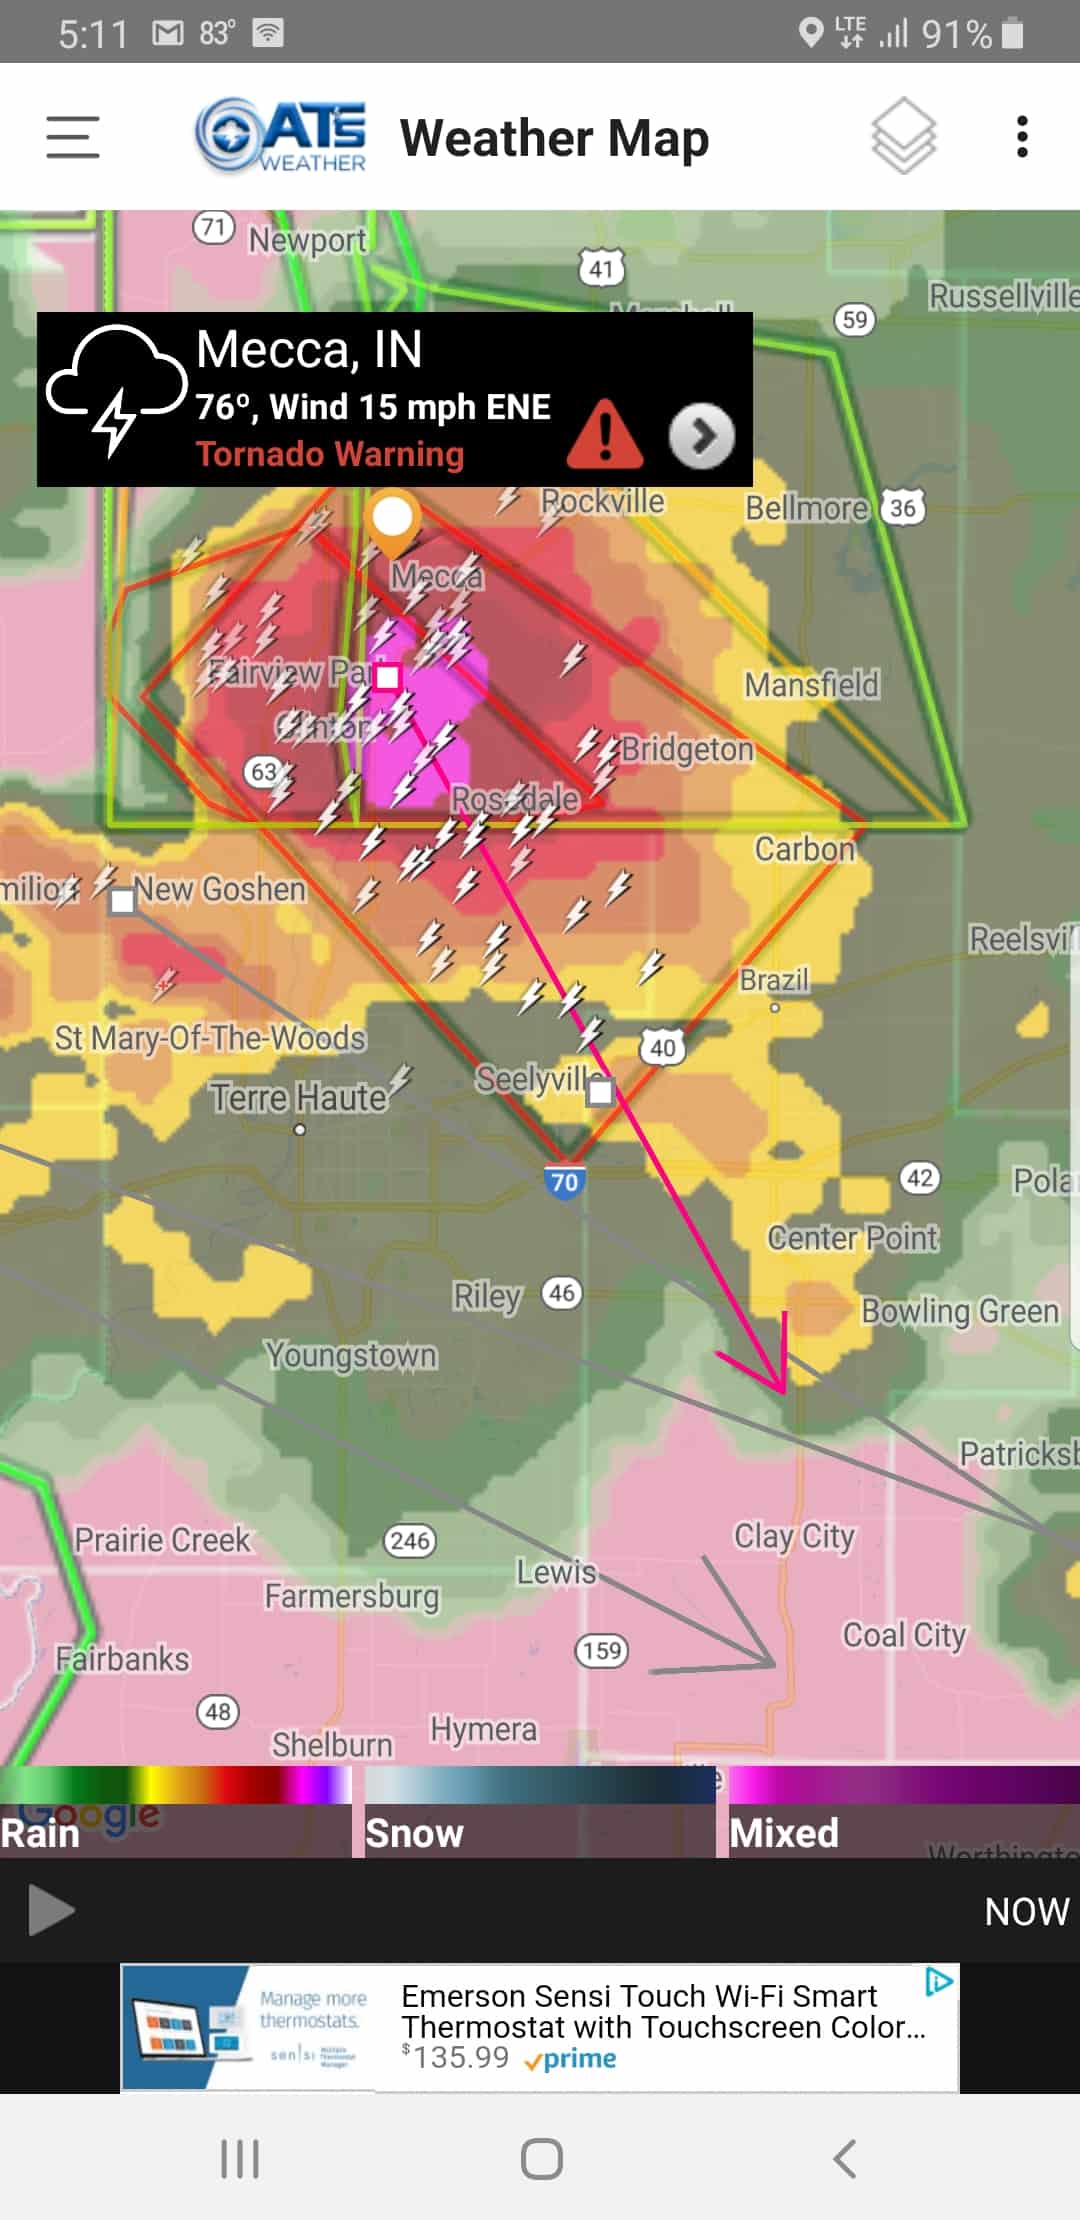
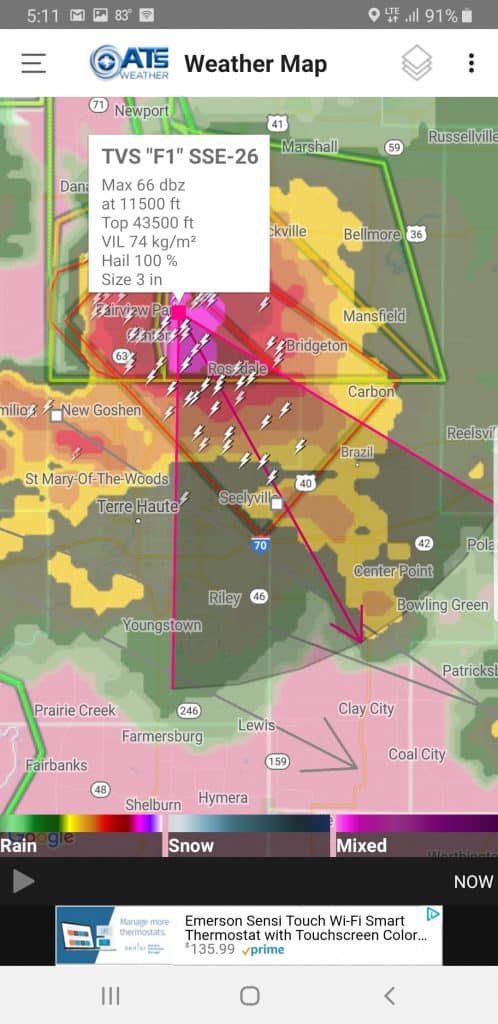
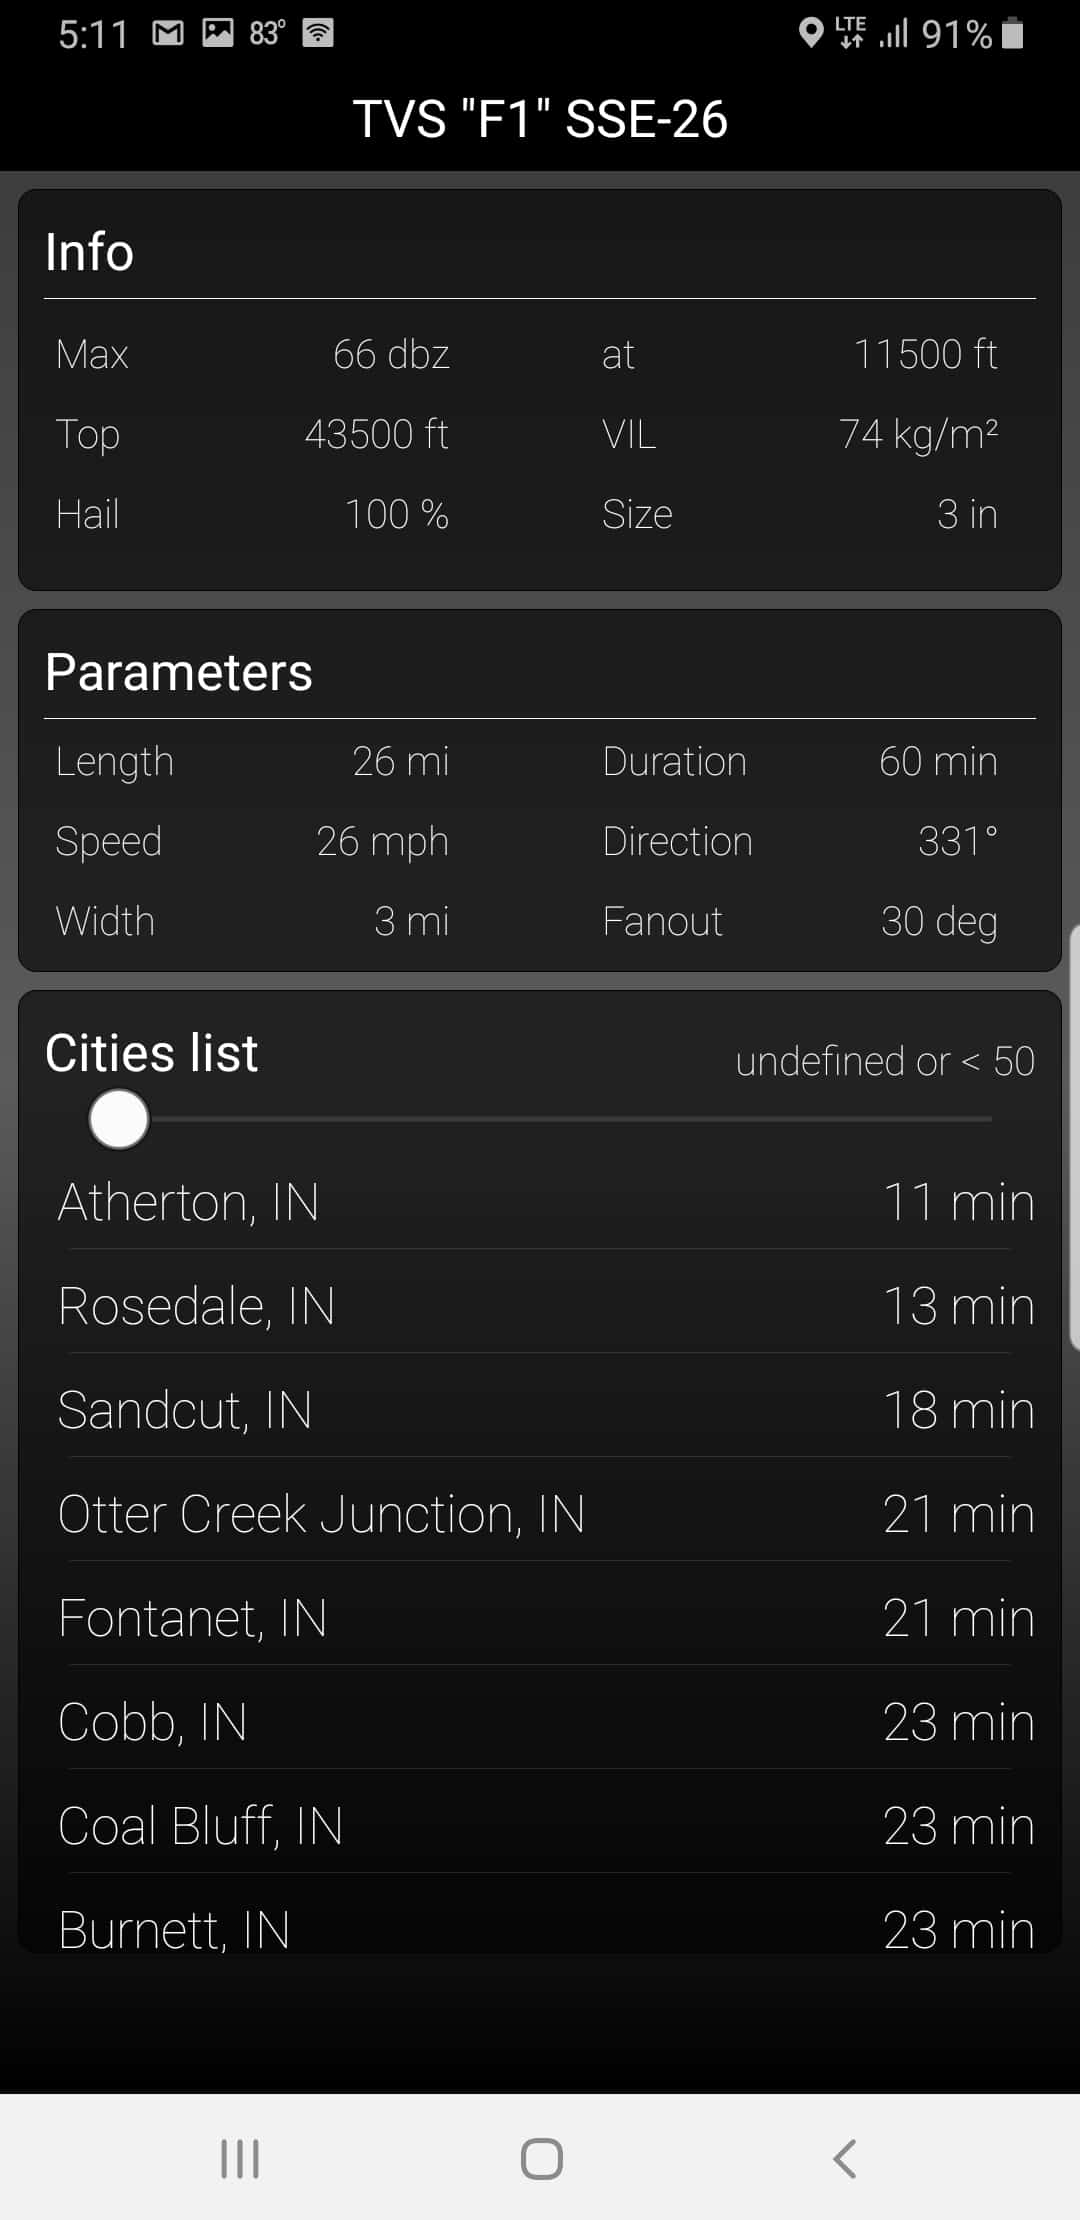
As you play around with different storms, you’ll see different colored arrows. TVS in red is for tornado vortex signature. Black is for large hail. Purple indicates rotation. And so on.
As a reminder, you can get an ad-free version of the app if you become a patron. Go here for more details: Make app Ad-Free


